Create a Workflow
This page walks you through creating a new workflow (document-processing flow) inside a project. A workflow defines the steps that uploaded files will go through.
Prerequisites
- Complete the Create a Project step first.
- You must have at least one existing project to work in.
Step-by-Step
In the project list, click the project name where you want to add a workflow to open the project detail screen.
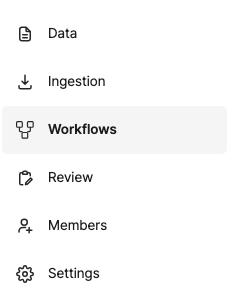
In the left sidebar, select the Workflows menu.
In the workflow list, click the Create Flow button in the top-right.
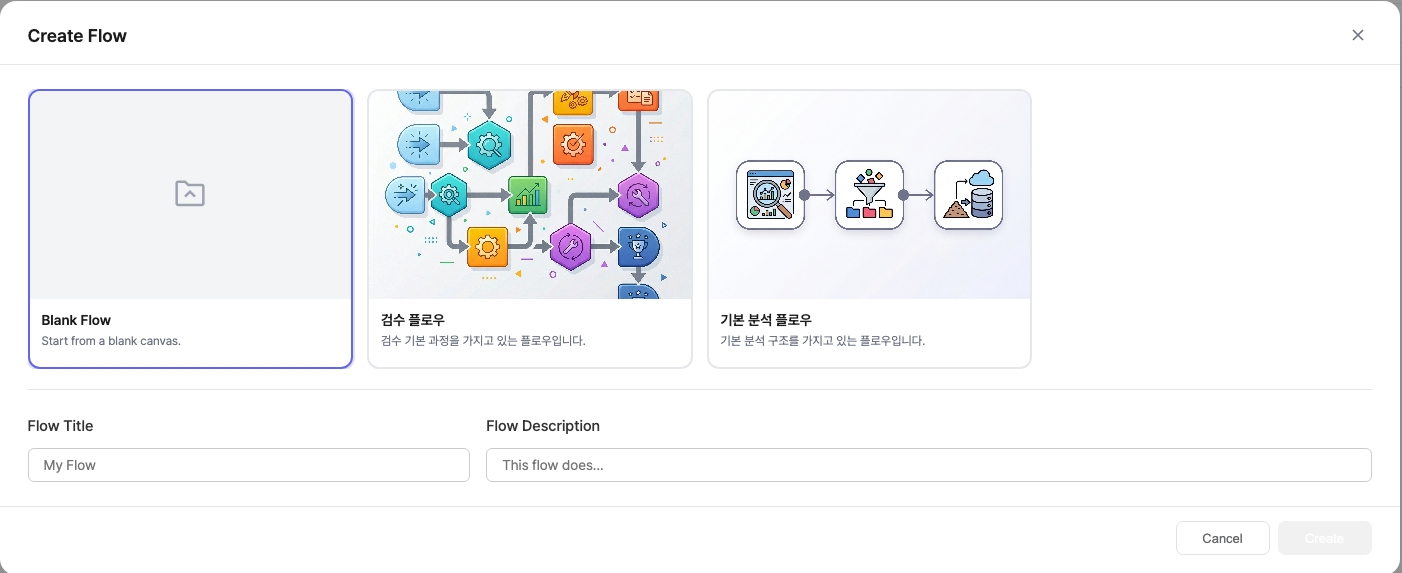
In the dialog, choose a starting template. If you don't pick one, a default flow is used.
Enter a Flow Title. Optionally enter a Flow Description.
Click the Create button. The flow is created and you are taken to the workflow editor.
In the editor, drag in the nodes you need (for example, ingestion, classification, conversion) and connect them to compose the processing flow. Once editing is complete, click the Test upload button in the top toolbar to upload a file and verify that the flow behaves as expected.

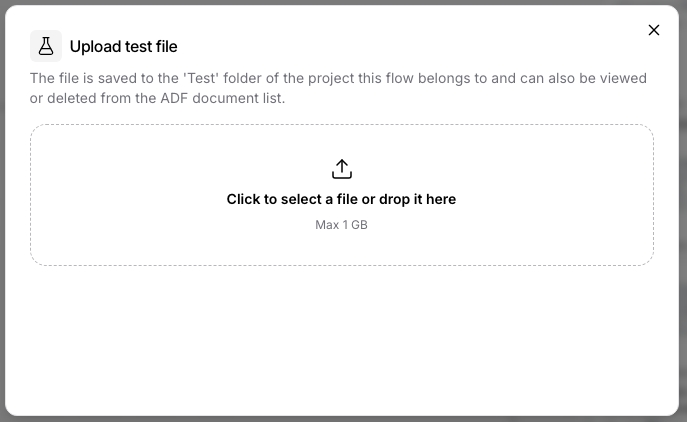
The uploaded file is saved to the 'Test' folder of the project, and can also be viewed or deleted from the Data list.
You can create multiple workflows and run any of them against files in the same project.
Next Step
- Upload Files and Run →: Process real files with the workflow you just created.